---------------------------------------------------------------------------------------------------


---------------------------------------------------------------------------------------------------
HERE'S HOW I DID IT...
---------------------------------------------------------------------------------------------------
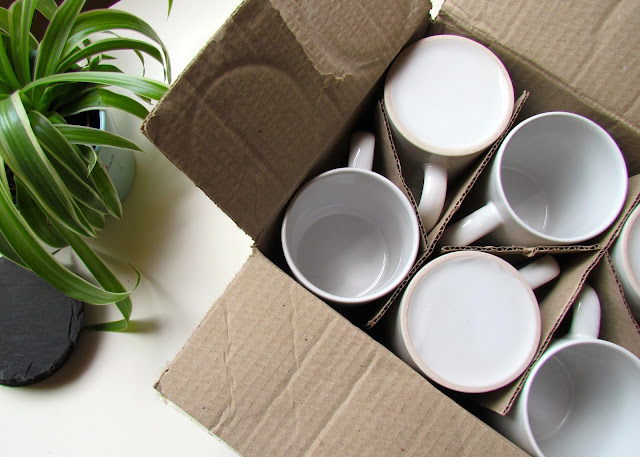
1. Take your plain white mugs and make sure that they are clean. For this I just washed them as I would any mug (by hand, we don't have a dishwasher!) and made sure they were completely dry.


2. Print your chosen letter in the Roman Print font and place tracing paper over this before tracing the monogram with a pencil and ruler. My printer is currently out of action and so I adjusted the monogram on my laptop screen until it was the right size for mug and placed my tracing paper over this before lightly tracing around the letter.

3. Turn the tracing paper over so that the monogram is facing down. Using the pencil and ruler, trace the monogram on the other side of the tracing paper. I then carefully traced the either side, using a ruler. This is the side that will come out on the mug so you want this side to be neat.


4. Cut around the monogram leaving approximately 0.5 cm of blank tracing paper around it. To make transferring onto the mug a bit easier, I cut around the tracing so that I could then stick it temporarily to the mug.

5. Fix the tracing paper to the mug with tape where you would like the monogram to be transferred to. This will stop the tracing paper moving about and ruining your tracing!

6. Using a pencil and some pressure, trace the monogram again so that when the tracing paper is removed a faint outline is left on the mug. It's really hard to see in this photo but there's a very faint outline on the mug - promise!

7. Using a black sharpie pen and a ruler, go over the faint pencil lines. I don't have the steadiest of hands and unfortunately the only sharpie I had to hand was quite thick, so I used a ruler to help keep my lines straight.

8. Remove any mistakes with your nail or some nail varnish remover before leaving your mug to dry for a day or so. Before it dries, tidy up any mistakes. I just used my nail and found that it came off easily but I've read else where that nail varnish remover is good for this.

9. Place your mug in your oven and turn the oven on to 180°C. Bake for 30 minutes. Now I chose this temperature and time from averaging some of the 'recipes' that I read elsewhere however I have more recently come across instructions to use a much higher temperature and to bake for longer. If you're braver than me, give it a go!

10. Switch the oven off and only remove the mug from the oven once the oven is completely cool. I read somewhere that it can be better to leave the mug in the oven to cool down with the oven which I assume is so that it does so slowly.
...and that's it!
Now this mug is by no means perfect and if I were to scrub at the monogram with the rough side of a sponge I'm pretty sure I could eventually get it off. But I've been happily drinking my tea from it and hand washing it (carefully I admit) with no issues. I'd love to hear about your sharpie mug creative endeavours and particularly if you do it any differently.
Let me know in the comments below!
♥


0 comments